How to Make an Individual Sales Application Through Web Tapu?
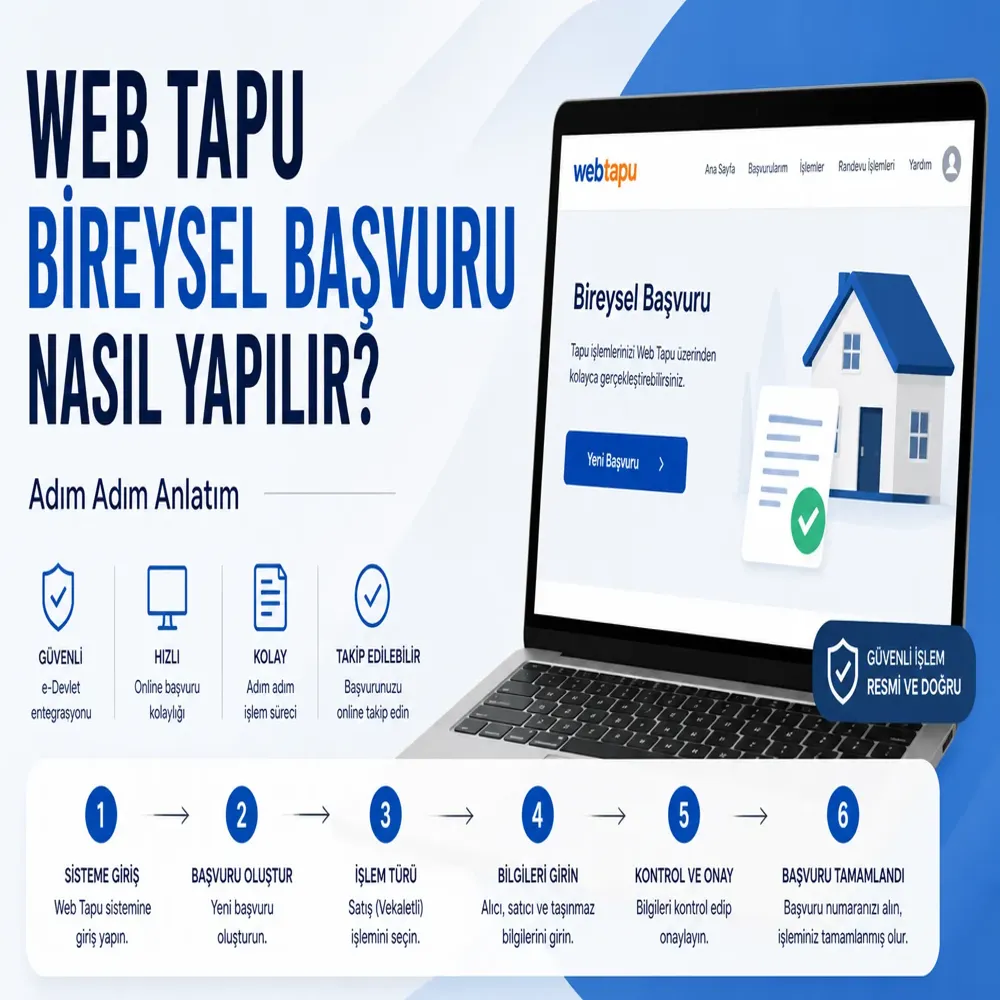
In this content prepared for those who want to make an individual sales application through the Web Tapu system, the sales transaction made by a Turkish citizen seller through their representative to a Turkish citizen buyer is explained step by step. Transactions involving bank loans or foreign parties are outside the scope of this.
This application process is prepared for the sale transaction made by a seller who is a Turkish citizen to a buyer who is also a Turkish citizen, through a proxy. The steps described cover the standard sales application process conducted through a power of attorney.
However, if the transaction is carried out with a bank loan (mortgaged sale) or if the buyer or seller is a foreign national, additional steps and different document requirements arise during the application process. In such transactions, additional processes such as the bank's involvement in the process, preparation of an appraisal report, and establishment of a mortgage are present. For foreign nationals, different applications such as identity verification, valuation report, and foreign currency transactions come into play.
Therefore, the process described here is only valid for standard sales transactions conducted through a power of attorney, without a mortgage, between domestic buyers and sellers.
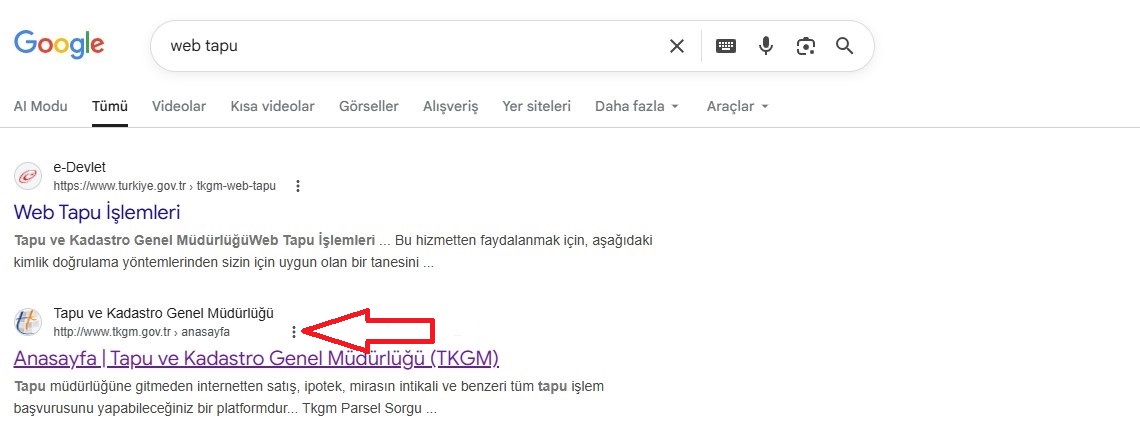
1. Accessing the Web Title Deed System
Search for “web title deed” on Google and click on the “Web Title Deed Transactions – e-Government” link in the results.
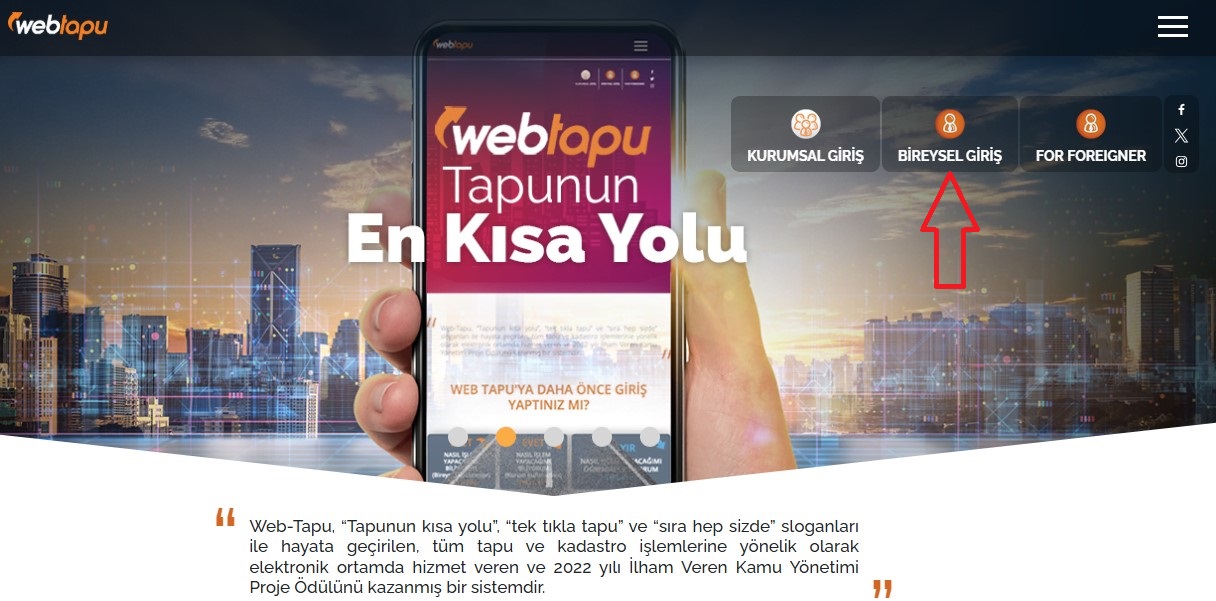
2. Transition to the Web Title Deed Page
On the opened homepage of the General Directorate of Land Registry and Cadastre, click on the “Web Title Deed” button in the top menu.
3. Individual Login Selection
On the opened Web Title Deed login screen, click on the “Individual Login” button on the right side.
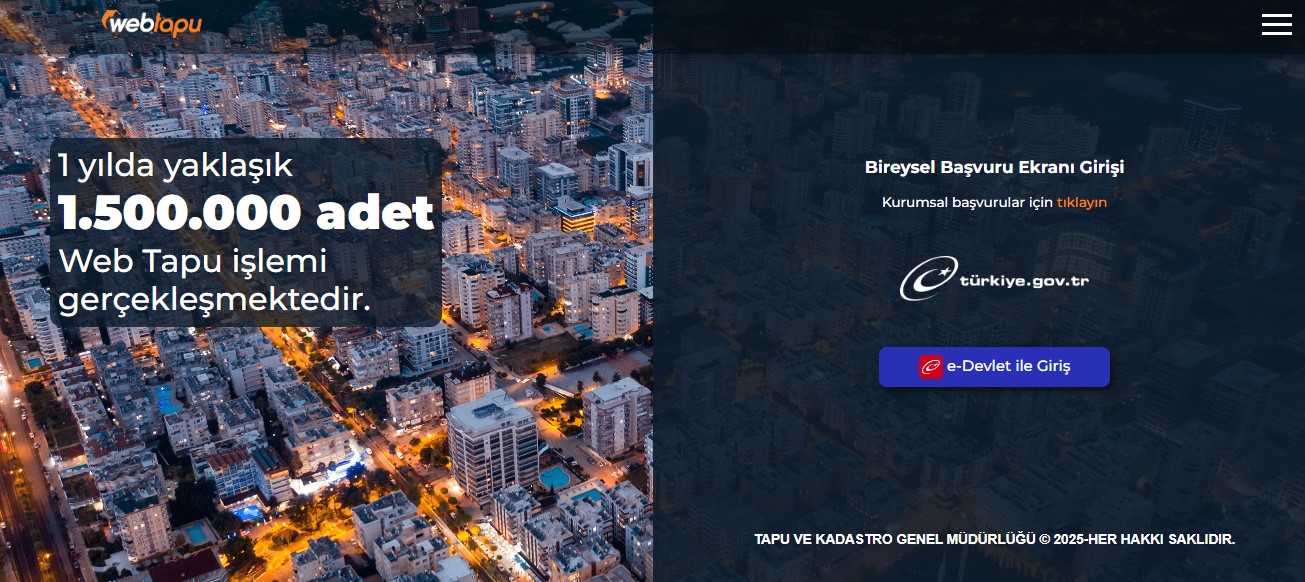
4. Logging into the System
Log into the system by clicking the “Login with e-Government” button on the individual application screen.
5. Identity Verification and Login
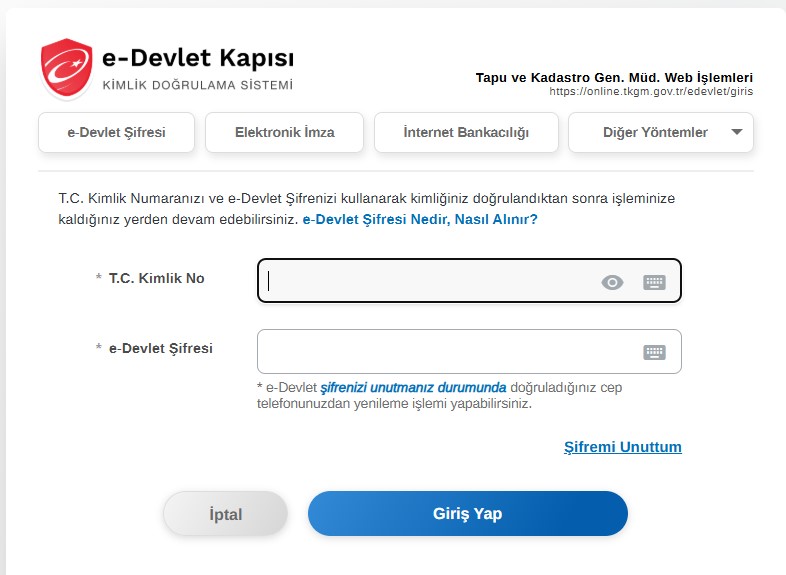
On the opened identity verification screen:
Enter your T.C. Identity Number
Enter your e-Government password
and click the “Login” button.
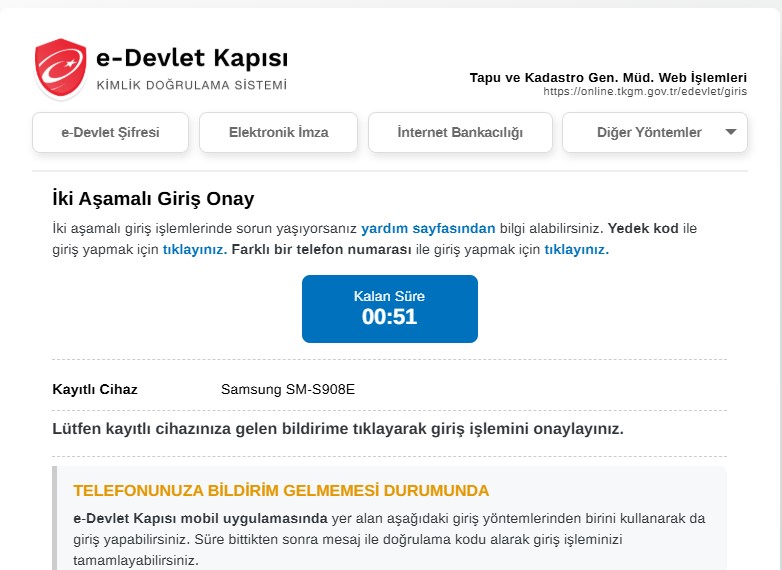
6. Two-Step Login Confirmation
On this screen, confirm the login process by approving the notification sent to your registered device or completing the verification step.
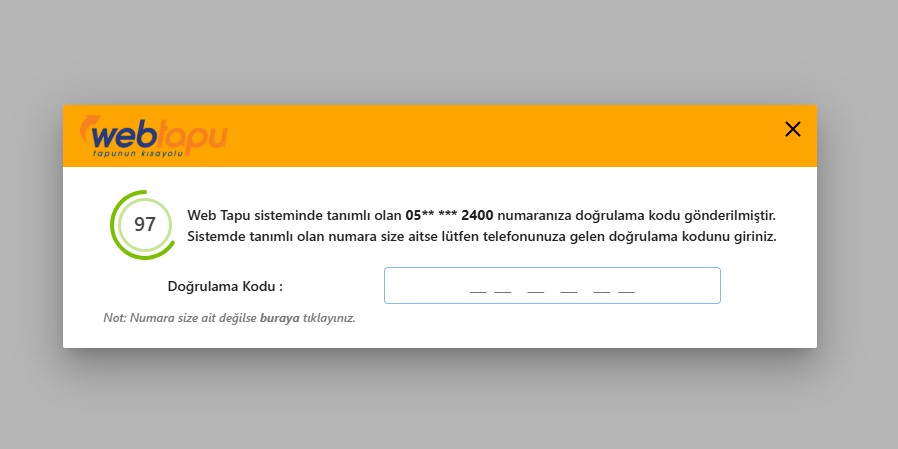
7. Entering the SMS Verification Code
Enter the verification code sent to your registered phone number in the relevant field to confirm the process.
Important Notes
The code must be entered within a short time
If the wrong code is entered, the process will fail
The phone number must be registered and active in the system
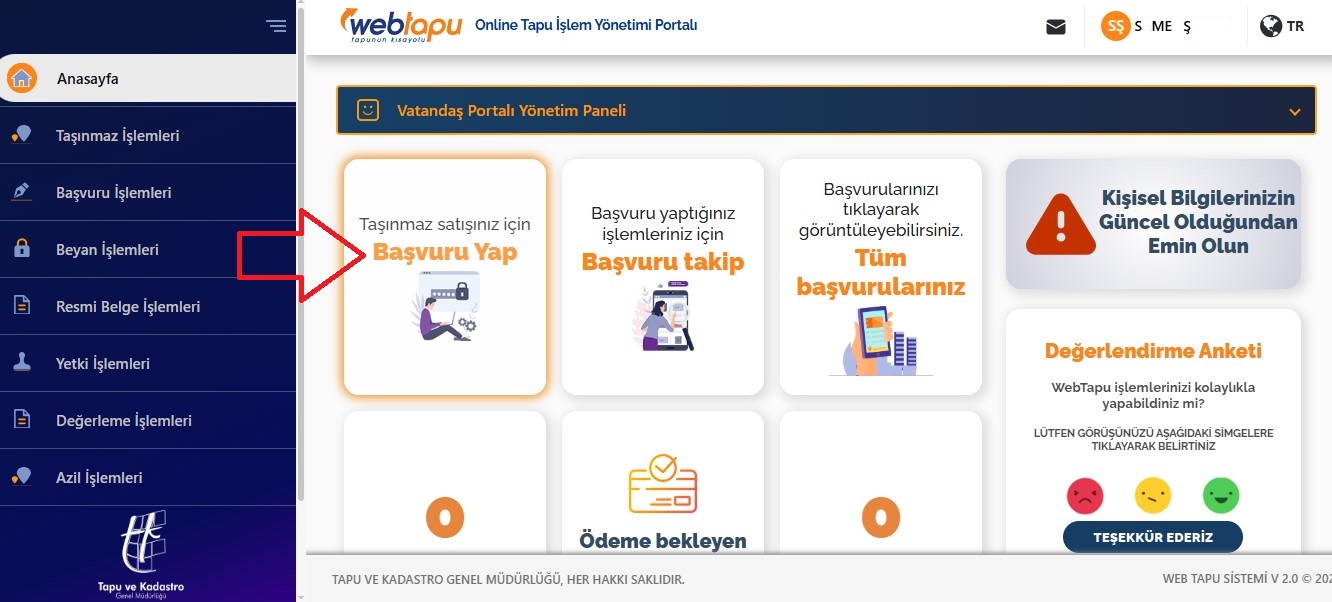
8. Application Creation Screen
In the opened citizen panel, click on the “Make an Application” button on the main screen.
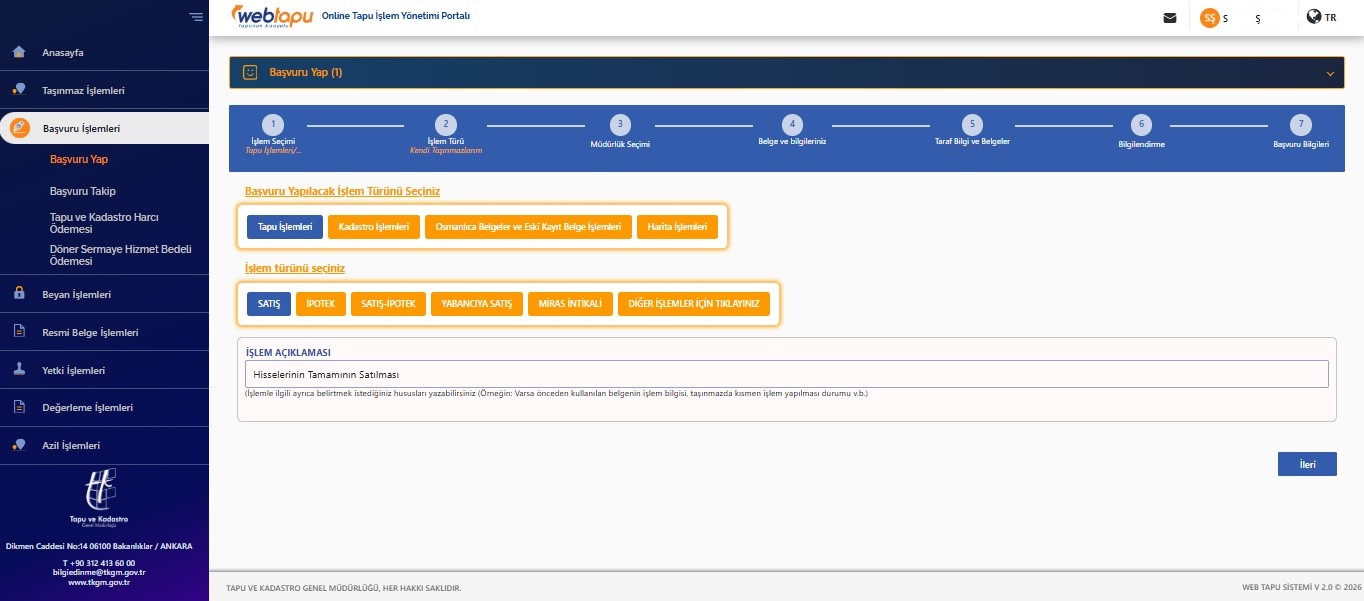
9. Selecting the Transaction Type
On the opened application screen:
In the upper section, check the “Title Deed Transactions” option
In the lower section, click on the “Sale” option from the transaction types
Important Notes
If a sale transaction is to be made, the “Sale” option must be selected
Options like “Mortgage”, “Inheritance Transfer” are for different transactions
After selecting the transaction type, the system will direct accordingly
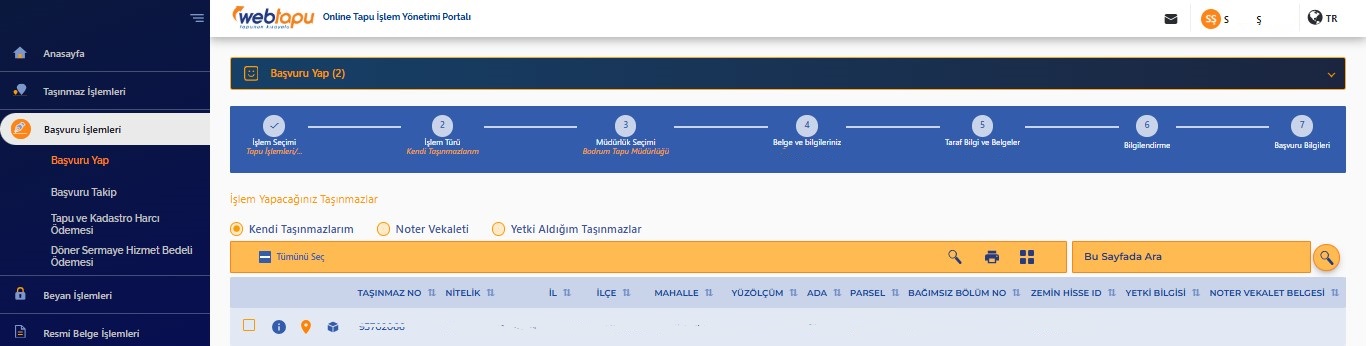
10. Selecting the Property and Authority Type
From the options on this screen:
“Notary Power of Attorney” option must be checked
Then select the property to be processed from the list
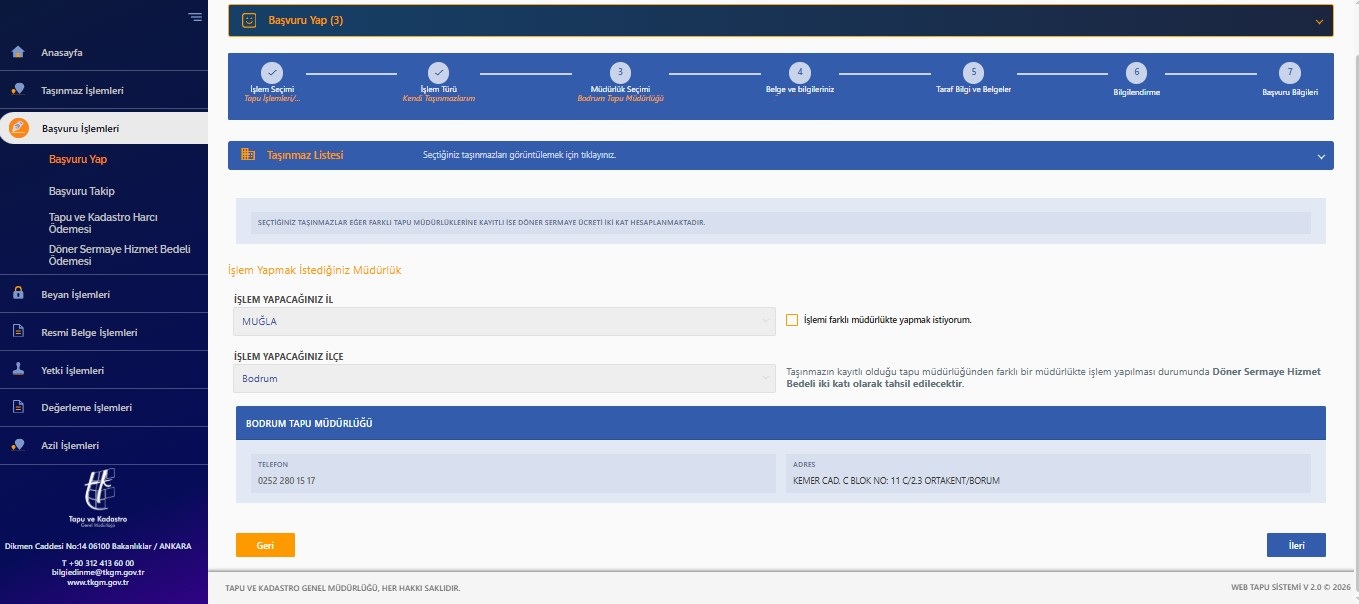
11. Selection of the Title Deed Directorate
On this screen:
Check the province and district where the transaction will take place
The system automatically brings the relevant title deed directorate
After checking the information, click the “Next” button
Important Notes
The province and district where the property is located must be correct
If a different directorate is to be selected, the relevant option must be checked
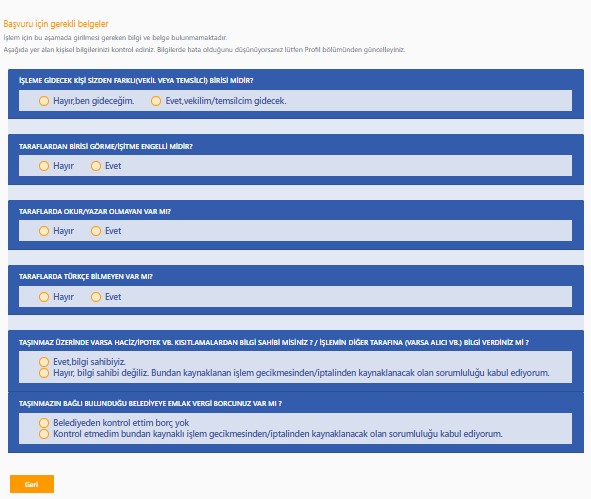
12. Filling in the Parties and Transaction Declarations
The questions on this screen must be answered carefully according to the transaction status:
Who will go for the transaction →
➤ “Yes, my proxy/representative will go” must be selected
Other questions (obstacle status, literacy, language, etc.) →
➤ According to the actual situation, Yes / No must be marked
Information on liens, mortgages, restrictions →
➤ Must be declared correctly according to the current situation
Municipal property tax debt →
➤ Must be checked and the correct option marked
Important Notes
Since it is a transaction with a power of attorney, the correct option must be marked in the first question
All answers must be appropriate to the actual situation
Especially, lien and debt information must not be misrepresented
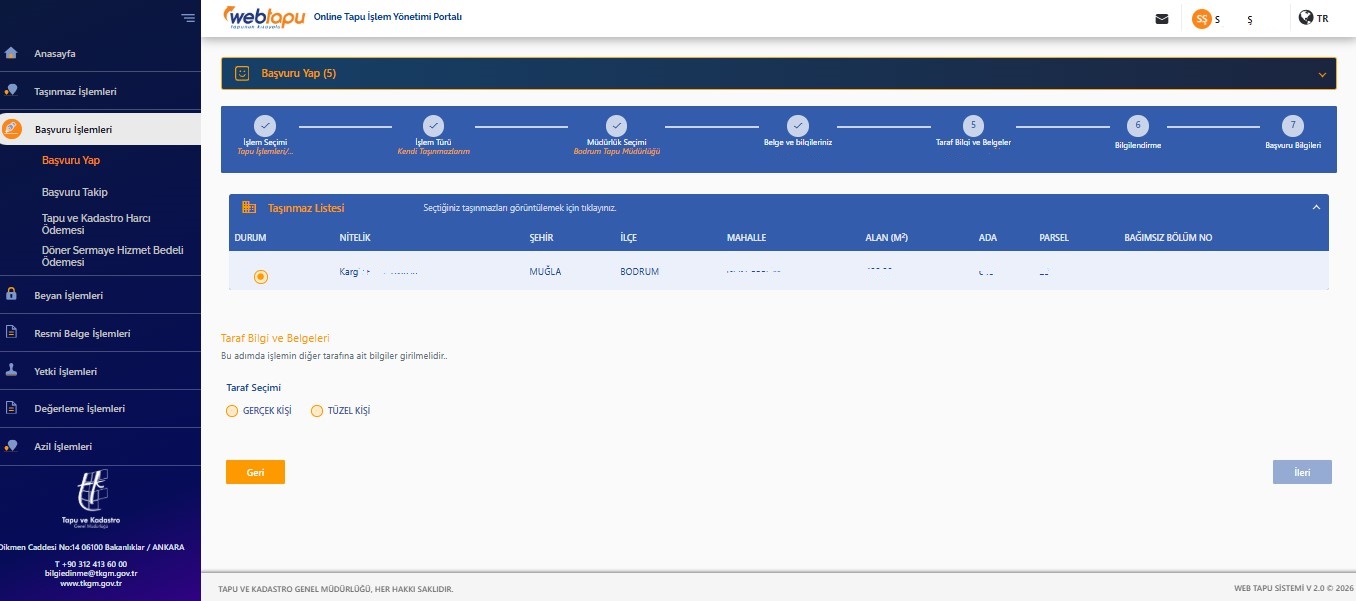
13. Entering Buyer Party Information
On this screen, the buyer party for the sale is selected:
If the buyer is an individual → “Real Person”
If the buyer is a company → “Legal Entity”
After the selection, the buyer's information is entered into the system.
Important Notes
The buyer type must be selected correctly (individual/company)
Identity information must be entered completely and accurately
If incorrect information is entered, the process may have to be redone
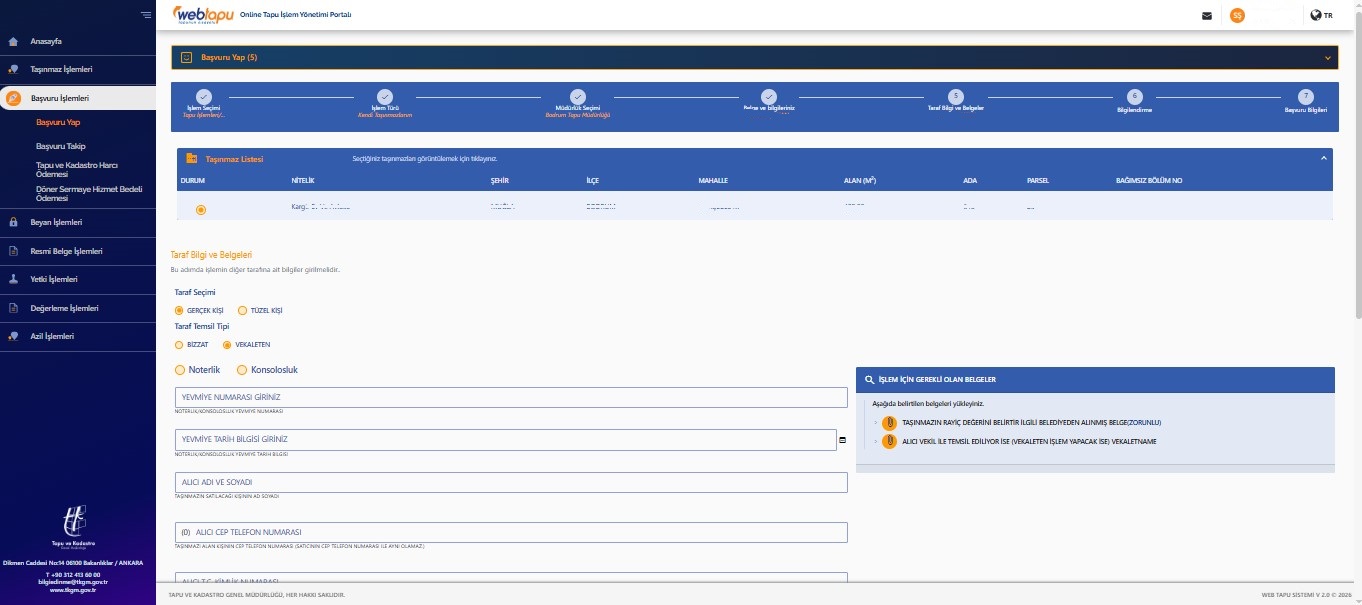
14. Entering Buyer Information and Power of Attorney Details
On this screen, detailed information about the buyer is entered:
Party Type → Select Real Person or Legal Entity
Party Representation Type →
➤ If the proxy is conducting the transaction, select “By Proxy”
Then:
Power of attorney information (journal number, date)
Buyer's full name/title information
Buyer's contact information
must be filled out completely.
Important Notes
In a transaction with a power of attorney, “By Proxy” must be selected
Journal number and date must be entered correctly
Buyer's information must be written completely as it appears on the ID
Phone number must be active and correct
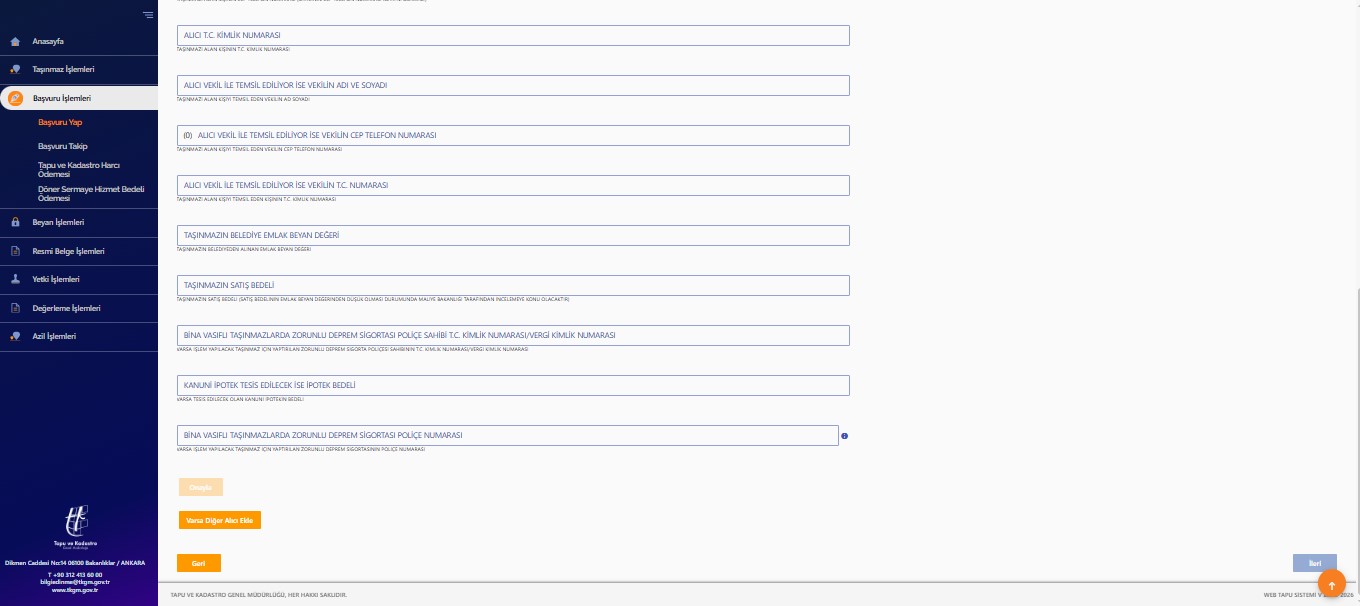
15. Entering Sale Price and Additional Information
On this screen, financial and legal information related to the property is entered:
Buyer's T.C. Identity Number
(If any) proxy information
Municipal property declaration value of the property
Sale price
DASK (mandatory earthquake insurance) policy information
After the information is filled out completely, click the “Next” button.
Important Notes
The sale price must be consistent with the declaration value
DASK policy must be active and valid
Identity and contact information must be entered accurately
If information is missing, the system will not proceed
16. Checking and Completing the Application
After entering all the information, the system will direct you to a control screen.
On this screen:
Carefully check all the entered information
If there are no errors, approve the application
After approval, the system will direct you to the application number screen.
Important Notes
All information must be checked one last time
If there is incorrect information, it should be corrected by going back
Once all these steps are completed, your sale application by proxy will be successfully created through the Web Title Deed.
In the subsequent process:
The title deed directorate reviews your application
If deemed necessary, additional documents may be requested
After suitability, an appointment and transaction process will be initiated